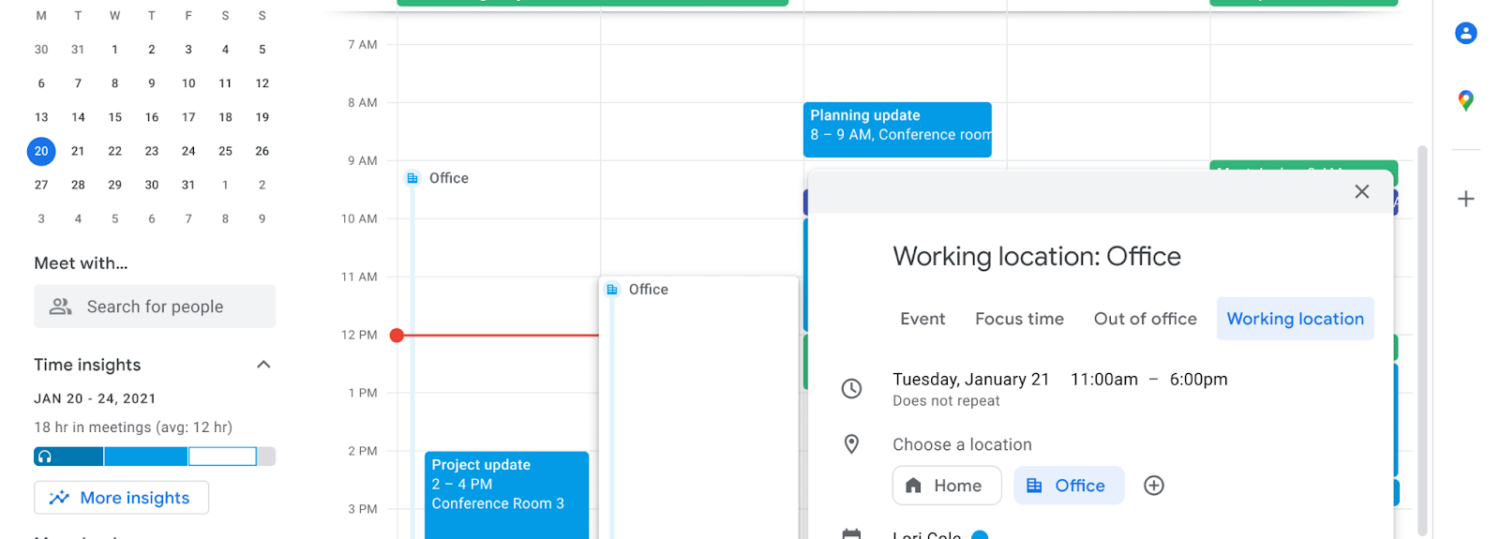
Add your working location
- On your computer, open Google Calendar.
- Create an all-day event. Learn how to create an all-day event.
- In the event window that appears, select Working location.
- Optional: Adjust the dates that you want to add a working location to.
- Select a location or create a new one.
- Click Save.
Tip: You can also add a working location when you point below a date on your calendar grid and click the “Add location” bar that appears.
Edit your working location for one day
Important: When your calendar is shared with someone with free or busy visibility, they can view your availability and working location.
- On your computer, open Google Calendar.
- Below a specific date on your calendar grid, click the location bar.
- If you click on the starting location, click Edit working location
.
- To adjust the date range, click on each date.
- Select a location or create a new one.
- If you click on the starting location, click Edit working location
- Click Save.
- Choose a frequency, and then click OK.
Add your working location for part of a day
- On your computer, open Google Calendar.
- Click an empty space on your calendar.
- At the top of the event, click Working location.
- Choose the time and date you want to add a working location.
- Optional: Make your working location repeat.
- Click the day and time.
- Next to “Does not repeat,” click the Down arrow
.
- Choose how often you want the event to repeat and end.
- Choose a location or add a new one.
- Click Save.
Tip:
- After you create a working location for part of your day, you can drag it to another date or time.
- You can set your working location to repeat. Learn how to make an existing event repeat.
Show when you’re out of office
When you indicate that you’re out of office, your calendar will automatically decline all meetings during that time.
- On your computer, open Google Calendar.
- At the top of your calendar, click the first date you’ll be out of the office.
- Click Out of office.
- Select the dates that you’ll be out of the office. You can also specify a time.
- Optional: To schedule out-of-office events that repeat, below the day and time you select, click the drop down menu next to “Does not repeat”
choose a frequency.
- Optional: Change your decline settings and edit your decline message.
- Click Save.
